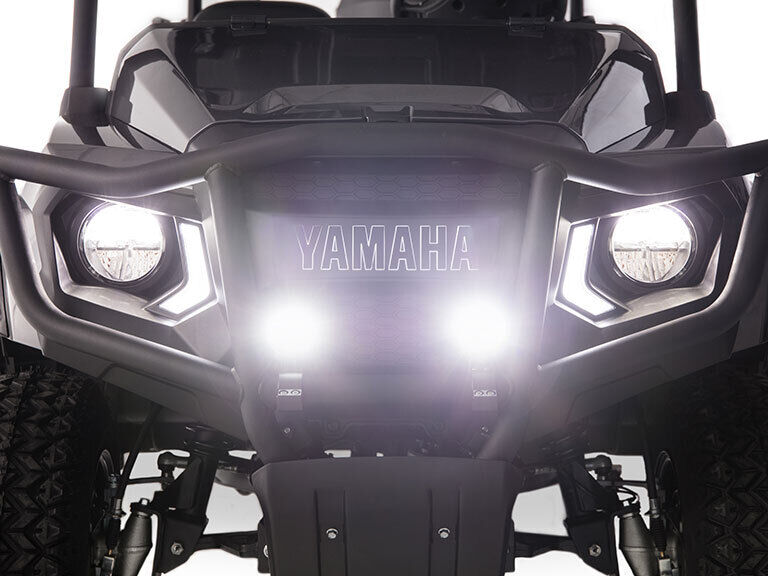
How to Wire Lights to a Golf Cart: Step-by-Step Instructions

If your personal golf cart did not come with lights installed, you're one of many. If you use your cart for purposes other than golf you should install lights to help you see where you're driving. In some instances, communities even require golf carts with lights, so this might be for you. Let's go through a step-by-step process of how to wire your own lights on a golf cart.
Step 1. Mount the Lights
Disconnect the chassis black wire from the negative battery terminal on your golf cart. Then, mount your lights on either the front bumper or top of your golf cart if your cart has a roll bar. If it does not have a roll bar, then clamping the lights to the front bumper is the next best place to install them.
Step 2. Mount the Toggle Switch
Mount the toggle switch for the lights on the driver's side of the dash. Drill a 1/2 inch hole in the dash to thread the mounting screw for the light switch.
Step 3. Connect the Electrical
Connect one of the leads of the inline fuse holders to the positive terminal of the battery with a ring terminal. Use a "butt" connector to connect the un-attached lead of the in-line fuse holder to the middle terminal of the toggle switch with a female spade terminal.
Step 4. Wire the Lights
Use 16-gauge wire and connect the second terminal of the toggle switch to the headlights' positive connection with a butt connector.
Step 5. Secure the Wiring
Cover all of the connections with electrical tape and then secure the wiring to the body of the golf cart with nylon wire ties.
Step 6. Set the Toggle Switch
Set the toggle switch in the mounting hole previously drilled. Then, re-connect the negative battery terminal. Test the light by turning the light switch to the "on" or "up" position and your lights are now setup.