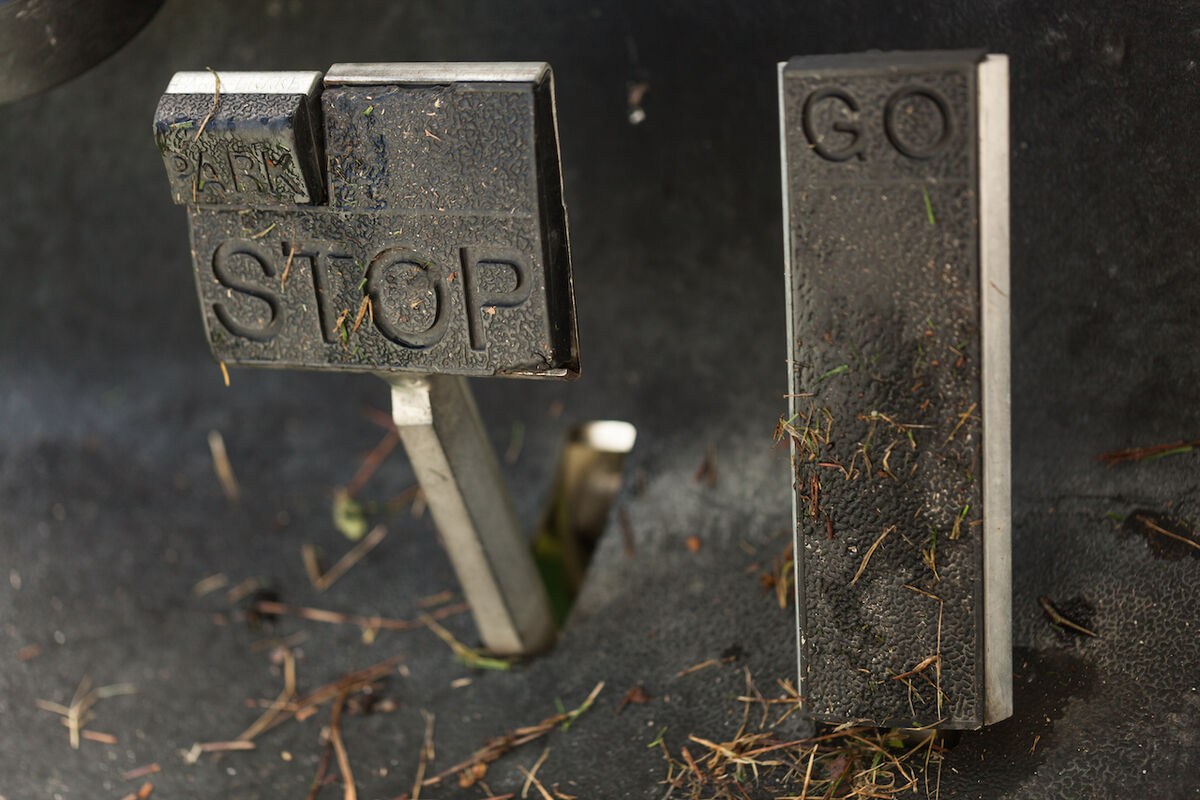
How to Replace Brakes on a Golf Cart
Updated November 19, 2021

Golf carts have been used since the early 1950s to help players get around courses throughout the world. They vary in price, size and propulsion, but all carts have one common component: brakes. If you own a golf cart, eventually the brakes will require replacement just like those on your automobile. Golf cart brake pads will make an audible noise when they have worn to the point of requiring replacement. If you are on a budget, you can do the job yourself.
Instructions
Difficulty: Moderately Challenging
- Pull your golf cart into a garage or other covered area. Use your 2-ton floor jack and lift the rear of your cart until both wheels are in the air.
- Remove the rear wheels from the cart with your socket wrench. Set each wheel aside.
- Remove the brake drums to access the brake pads. The pads will be held in place with one or two clips depending on the model of cart you own.
- Pull off the clips and remove the worn-out pads. Apply anti-squeal grease to the interior of each replacement brake pad. Then insert the replacement pad on each wheel axle and secure it with the brake clips.
- Reattach the rear wheels and secure the lug nuts. Lower your cart and test the new brake pads in your driveway at a slow speed to ensure they are responsive.
Advertisement
Tips & Warnings
- When adjusting golf cart brakes, make the changes at the hub assembly and not on the brake cables.